Are you feeling festive and keen to design your own festive wreath for your home?
If so, I would love to share a brief lesson with you on how to design a festive wreath for your front door entrance this Christmas.
A wreath symbolises eternal life which makes it a beautiful decoration for the holiday season. Flexible in its use, you can hang a wreath on a front door or gate, or even place your wreath in the centre of a table and place a pillar candle in the middle to create the foundation for a lush tablescape.
Wreaths come in all different sizes and styles. You can create a wreath from very basic materials, very luxe materials, or even odds and ends around the house if you wish to get really creative.
For this lesson, we will use a 45cm wreath foam base which has a plastic backing to it so you can hang it on a door or place onto a table securely. The plastic backing gives the wreath base strength and also holds water within the base so you don’t have to be concerned about damaging any surfaces the wreath is placed on.
If you’d prefer not to use floral foam, you will need a 45-50cm wire wreath base, wire or mini zip ties and also water vials (should you wish to enjoy the wreath for more than 2-4 days). Wire or natural wreaths are our preference if we are designing a wreath which will dry naturally over time or does not need to last.
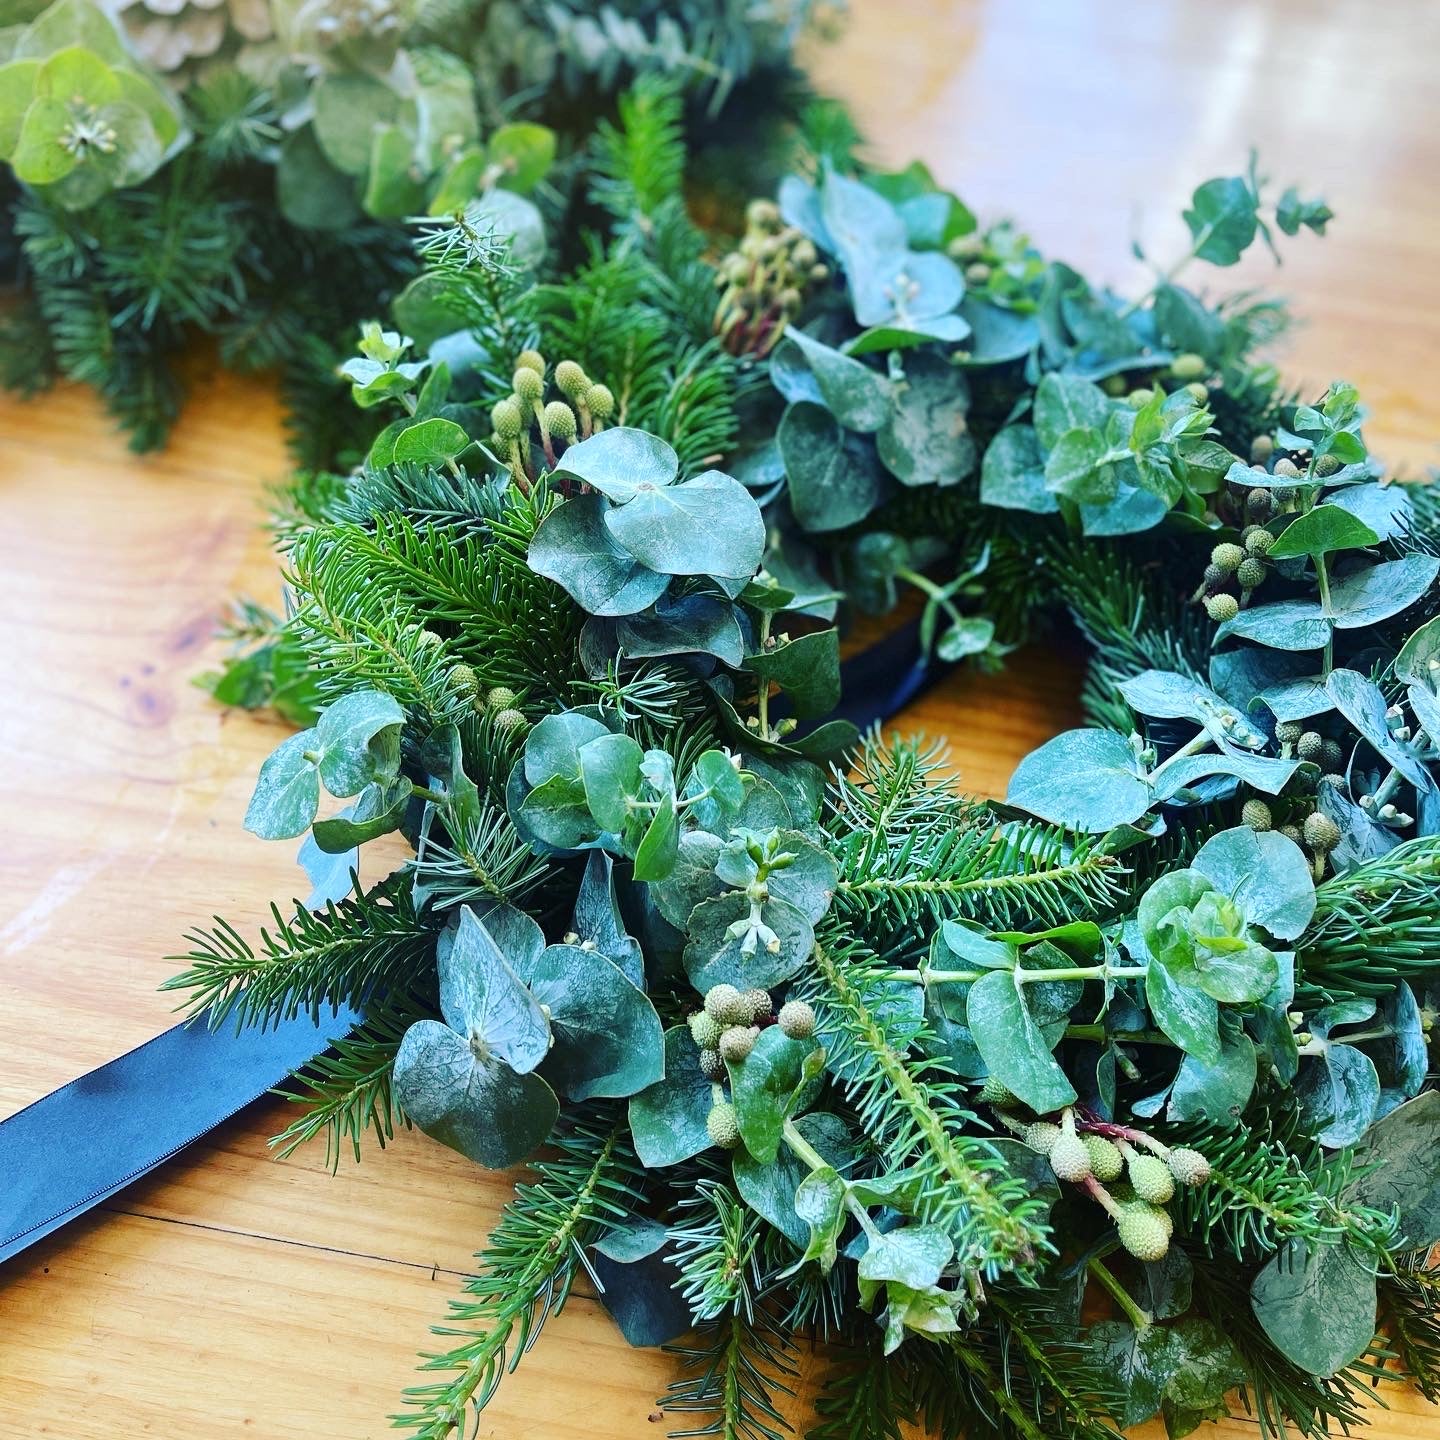
The wreath featured in this blog consists of fresh natural spruce and fur foliages, pine cones, holly or blackberry foliage. This style of wreath is perfect to hang on your front entrance gate or door. It should last anywhere between 7-14 days depending on care and environmental conditions.
You will need the following:
- Snips
- Wire (10cm lengths & 7cm hair-pin lengths)
- 45-50cm green floral foam
- Gardening Gloves (if you are allergic or will react to the holly or spruce)
- 3 bunches of fresh and fragrant spruce
- 1 bunch of eucalyptus spinning gum or holly
- 1 bunch of blackberry foliage or green hypericum berry
- 3-6 fresh pine cones (individually wired)
- 2 lengths of Ribbon (one to hang and one to detail with a long sash and bow)
Preparation and Conditioning Tips
Firstly, the process of making a wreath cannot be rushed so maybe reconsider starting at another time if you can’t put an hour aside for the project.
Soak the wreath base in your bath. Firstly, fill the bath with cold fresh water, approximately 3 inches deep. Once the bath is full of cold water, gently place the wreath into the water with the foam side facing down. Do not push the wreath into the water with force as you will create air bubbles in the foam and this is not ideal. The foam will naturally take up the water over time. Wait approximately 20-30 mins for the foam to soak properly without air bubbles. You want the entire wreath to be wet and you do not want to see any dry patches. In the meantime, condition the foliage and get everything else ready.
Prepare the foliage by cutting the spruce into 6cm long clusters and cut the clusters on a branching section. Start at the top of the stem and work your way down so you don’t waste any foliage. Rubbish the very end of the stem as this won't be good enough to use. Cut all 3 bunches into small short clusters and pile the cuttings into a mound.
Cut the ties off the 3 blackberry, holly or hypericum bunches. Remove any flawed leaves. Put the stems aside and do not cut these at this point.
Prepare the pine cones by securing a thick wire to the back join of the pine cone and leave at least 10cm length of wire. This can be a time consuming task as you need to make sure the wire is tightly wound around the back join and does not fall off. It is ideal that the wire does not show from the front of the pine cone.
Place your gardening gloves on especially if you have had a manicure, have nice hands or you allergically react to spruce, holly or eucalyptus. These foliages have sticky stems and prickly parts to them so wearing gloves will save you from sticky, smelly and scarred hands!
Time to design !!
- I highly recommend that you start the wreath by adding the hanging ribbon (or twine or fishing line) which makes it so much easier to secure and helps you know where the top of the wreath will be. Cut at least 1 metre of your preferred ribbon and loop the top ribbon through the centre of the wreath base and pull upwards. Tie a tight knot close to the wet wreath base. Keep the ribbon ends as far away from the wet wreath so they don't get wet.
- I recommend you start by basing the wreath with all the spruce foliage. Start poking the spruce foliage clusters into the foam and place them with gaps. Place the clusters into the foam in the same direction and keep turning the foam as this will give you a good even shape. Once you have completed the full turn of the wreath, add any leftover spruce clusters and turn the wreath in the opposite direction. Keep adding the spruce until there is none left.
- Now it's time to add the eucalyptus spinning gum to the gaps of the wreath base. If you want a naturally wild and larger wreath, cut the individual stems of the gum at a longer length. If you want the wreath to be really lush and full looking, cut the stems quite short and cluster groups tightly together.
- Add the berries or the holly. Again if you want a wild wreath, keep the stem length on the longer side. With the holly and berries, it's vital at this stage that there are no gaps and you can not see the green oasis.
- Finish the wreath by securing and adding the pine cones to the wreath. Ensure that the wire is wrapped around a foliage stem (without being able to see the wire). Alternatively you can wrap the wire around the entire wreath and attach the end to itself. Pine cones are heavy so keep this in mind when wiring them into the wreath base.
- Now it's time to finish detailing and decorating the wreath with ribbon. You could also just leave it natural at this point as you don't need to ribbon the wreath unless you were gifting it or hanging the wreath on a front door and want more colour.
Your wreath is now complete! I hope you've enjoyed this blog on how to design a festive wreath for the holiday season. If you have read this blog and are thinking you might not have the time to take on making a wreath, we have a beautiful range of festive wreaths online that you can order for the holiday season.
You can take a look at our wreaths online here.
Kate x


